Cannot Connect to the TimeClock Service
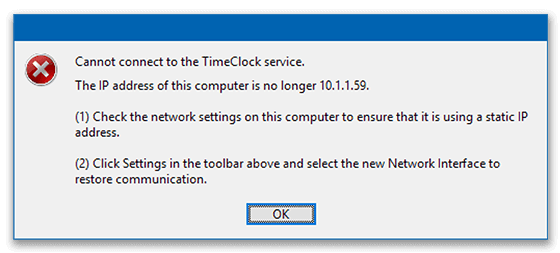
If your TimeClock clients are not connecting, you may receive a message in your TimeClock Server Manager program stating Cannot connect to the TimeClock Service. This message means that your Server Manager computer has been issued a new IP address by your router and your TimeClock service needs to be updated accordingly. This blog will outline the steps to fixing this problem.
1. Assign a Static IP Address
In order to keep this issue from happening again, you will need to assign a static IP address to your TimeClock Server computer. See our Assigning a Static IP Address Knowledge Base article for complete step-by-step instructions on configuring a static IP address. If you do not feel comfortable changing computer network settings, please consult your IT professional.
2. Select the Updated IP Address
To get your time clock connected again, you will select the new IP address in your TimeClock Server Manager program. Follow these steps:
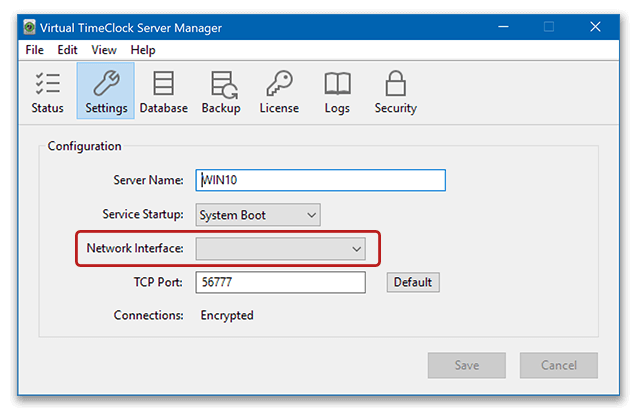
- Open your Virtual TimeClock Server Manager program.
- Choose the Settings tab from the toolbar.
- Select the Network Interface pop up menu and select the new IP address. Click Save.
- Select Status from the toolbar and make sure each function is restored.
Note: If the TimeClock Server connection is not restored, choose File and Restart Service.
With the TimeClock Server IP address updated, you can now reconnect your time clock clients with the new IP address. If you assigned a static IP address in Step 1, the TimeClock Server computer IP address will never change again unless you replace your networking hardware.